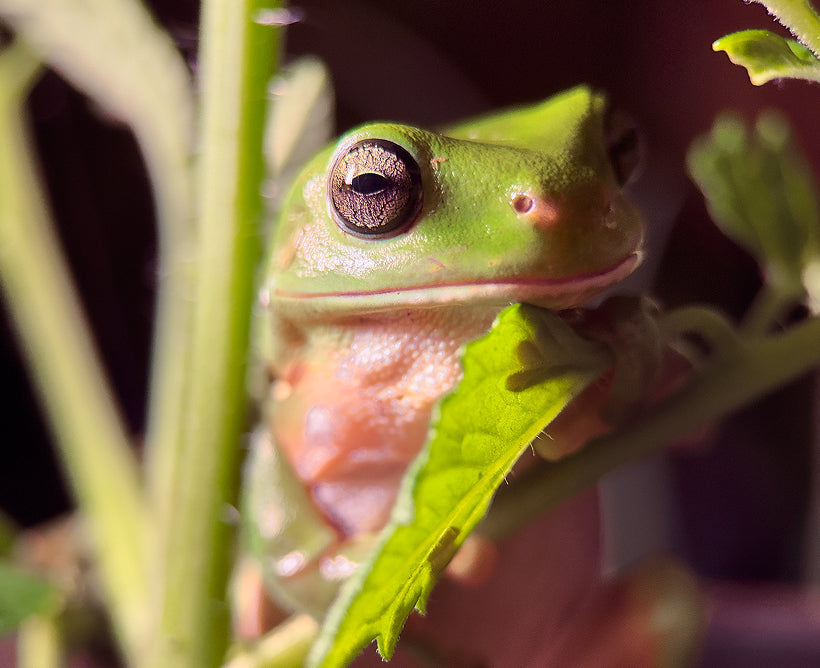
Tiny worlds look incredible on a phone—if you control distance, light, and focus. The first time I tried serious smartphone macro photography, I kept missing focus by millimeters and lighting everything like a searchlight. Once I slowed down and treated small subjects like big scenes—steady stance, soft light, deliberate focus—the textures and details finally snapped into place.
In this guide I’ll show you exactly how I work: when I choose the LensUltra 75mm Long-Range Macro for living, skittish subjects, when I switch to the LensUltra 10× Micro for extreme texture, and the lighting and stability tweaks that turn near-misses into tack-sharp keepers on iPhone or Android. Think of it as a creator’s playbook—practical steps, real-world setups, and gear that earns its spot in your bag.
Why the native iPhone Macro isn’t always enough
 Source: AmateurPhotographer.com
Apple’s Macro mode is brilliant for spontaneous close-ups, but it forces you to work extremely close (around a couple of centimeters), often with the Ultra-Wide camera’s perspective. That means you can cast a shadow with the phone itself, spook insects, and fight edge stretch or crops when you want more “reach.”
When I’m chasing clean edges, controlled highlights, and repeatable results, I reach for an external macro lens. A tele-macro like the 75mm lets me stand back, place lights where I want them, and keep natural perspective; a dedicated micro lens gives me true optical magnification without relying on digital crop. The difference shows up immediately in background control, lighting flexibility, and fine detail.
Choosing your Close-Up: Macro vs Micro
| Lens |
75mm Macro |
10× Micro |
|---|---|---|
| Reviews & rating | ★ 4.64/5 (58 reviews) • 76% 5-star | ★ 4.28/5 (25 reviews) • 60% 5-star |
| What it’s for | Subjects that move (butterflies, bees), shy wildlife, product details from a bit of distance | Extreme textures (fibers, watch dials, circuitry), museum-level magnification |
| Working style | Longer working distance = fewer shadows, less disturbance | Ultra-close working distance = maximum detail |
| Look | Natural perspective, clean background separation | Hyper-magnified, abstract, microscope-like detail |
| When I pick it | Outdoor nature, handheld product shots, reflective subjects | Table-top/studio, steady subjects, controlled light |
| From the field (quotes) |
“The 75mm Macro is a useful lens to add to your ShiftCam lens collection… Results have been impressive with excellent detail from far.” — VINCENT SPARKS |
“As a naturalist, this little lens provides me with endless fascination… bugs, mushrooms, lichens, water droplets and SO much more!!” — Laura Briggs |
If my subject moves—or spooks easily—I start with the 75mm Long-Range Macro. It gives me working distance, so I’m not casting shadows or scaring off a butterfly right when it settles. It also renders a natural-looking perspective with cleaner background separation, and you can feel that 75–100mm tele-macro look in the frame.
When I want to show pure detail—the grooves on a coin, the weave of a fabric, the brushing on a watch dial—I switch to the 10× Micro. It’s clinical and revealing in the best way, but it demands that I work very close to the subject. Expect a tight focus “sweet spot” and millimeter-level precision. The pay-off is huge: textures jump.
Focus & depth of field: manual wins at macro scale

At macro distances, depth of field can be millimeters. Autofocus will often skip right past the detail you care about. I switch to manual focus, enable focus peaking if my app supports it, and lock exposure and white balance before I touch focus to keep the image from breathing mid-shot. When I want the whole object crisp—say, a ring from bezel to band—I’ll shoot a tiny focus stack: a handful of frames drifting the plane front→back, then blend in post. No stacking on your phone? Fire a short burst while micro-nudging focus; it’s surprisingly stackable later.
Composition that feels intentional
Good macro looks simple and deliberate. Busy backgrounds kill the magic, so I lay subjects on matte paper or fabric and keep the palette quiet. I like to angle subjects on a diagonal for depth and to avoid that “flat product card” look. With extreme magnification, I’ll include a scale cue (a coin rim, a leaf vein) in a frame or two so viewers instantly grasp the size of the world they’re seeing. Outdoors, I often shoot through a soft foreground petal to create a natural vignette and a touch of mystery around what’s sharp.
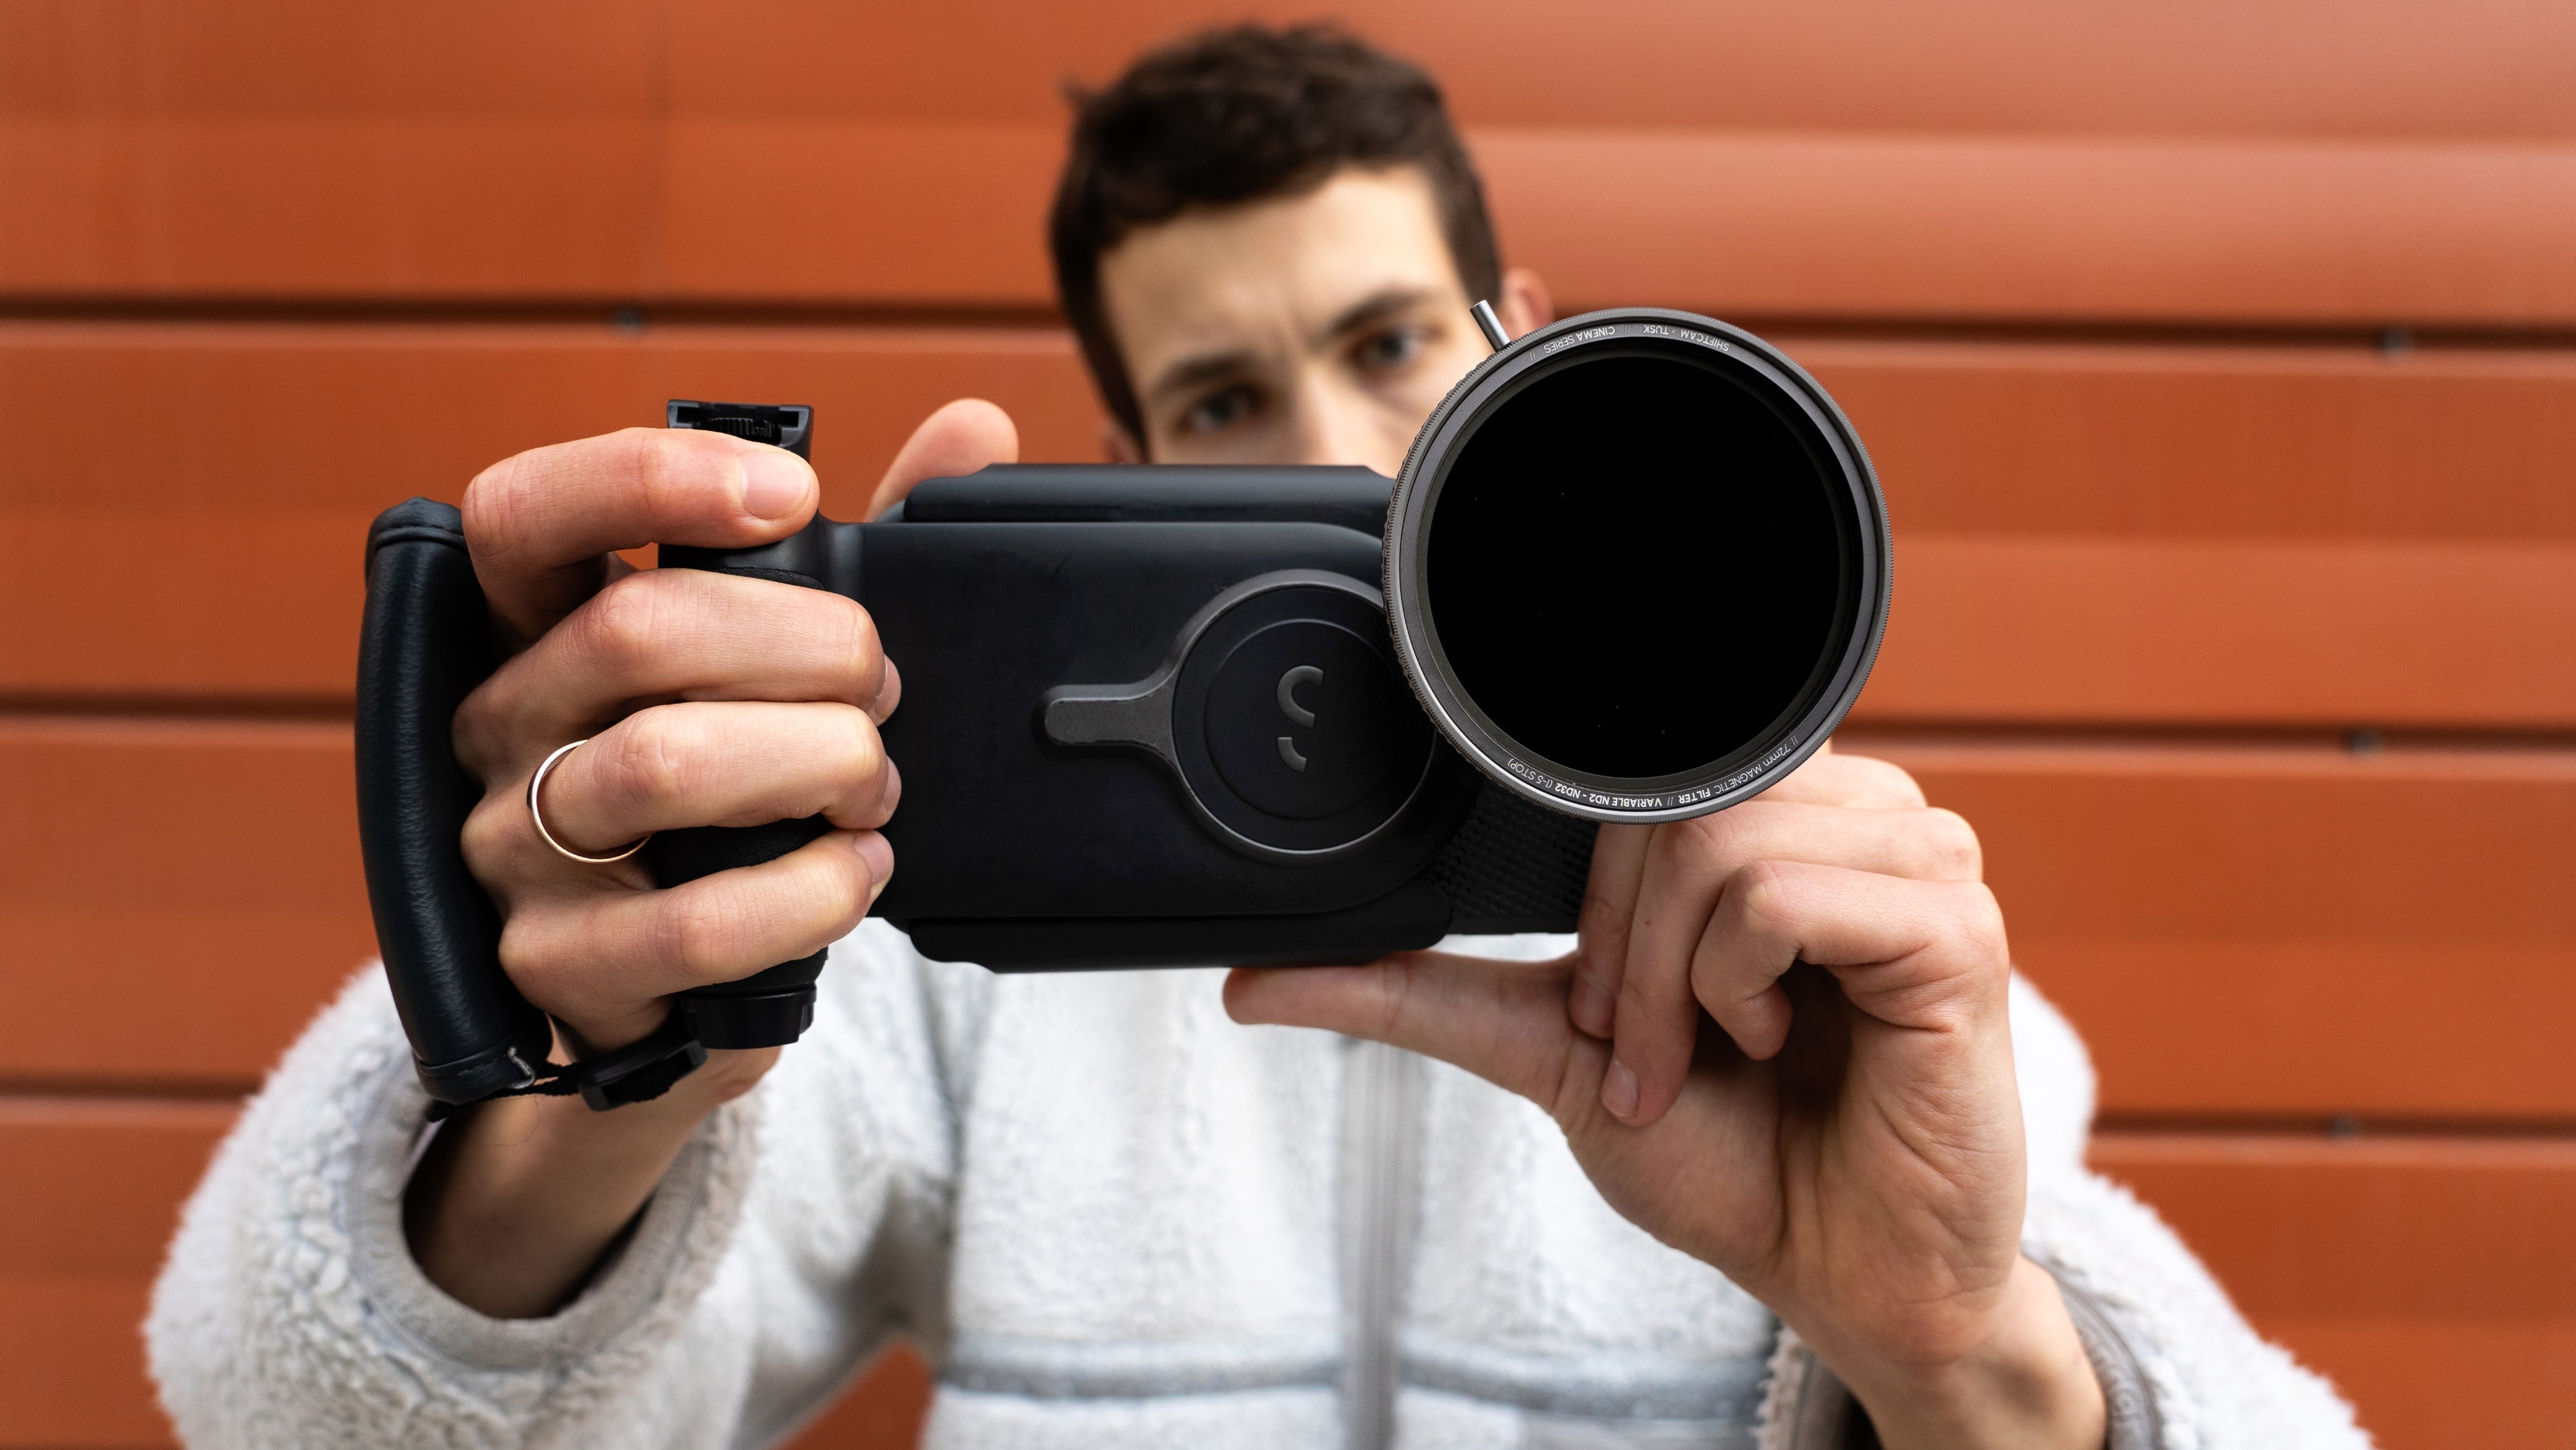
Setup that saves shots: distance, stability, mounting

Macro magnifies everything, including handshake. I center the optics with a ShiftCam case or universal mount so the lens sits perfectly over the camera. Handheld, I clamp a ProGrip handheld stabilizer—not just for comfort, but because the Bluetooth shutter lets me start a capture without poking the screen. When I’m stacking focus or shooting product, I’ll park the phone on a stand (SnapStand or a tripod adapter) and trigger remotely.
Working distance is the quiet superpower. With the 75mm, I stay back and let the subject breathe; with the 10× Micro, I creep forward until the plane of focus snaps. Here’s the trick that changed everything for me: instead of dragging an on-screen slider, rock your body a few millimeters forward/back. It’s faster and more precise at micro distances—and it turns a “hunting” session into a confident lock.
Settings that leave room to edit
For photos, I shoot at the phone’s maximum resolution, switching to RAW when I plan to edit. For video, I use 4K when possible; 24 fps looks cinematic, but I’ll flip to 60 fps if I plan to slow micro-motions. Shutter speed is the trade: I go faster than I would for general video (1/120–1/250 in good light) because micro shake reads differently at this scale. If noise creeps in, I add light instead of pushing ISO. Stabilization (OIS/EIS/IBIS) stays on unless I’m fully locked for stacking. Even handheld, a two-second timer or the ProGrip’s shutter can be the difference between a keeper and a near-miss.
Real-world scenarios (how I approach each)
Insects
I slide in at an angle and let the 75mm keep me back just enough that the subject relaxes. Early morning or late evening when insects are less active is prime time. A short burst helps me catch wings and antennae mid-gesture.

Flowers & leaves
Wind is the enemy. I shield with my body or a notebook, then backlight petals with a small LED so they glow. The 10× Micro is perfect for stamen or delicate fiber; the 75mm is beautiful for whole-blossom detail without trampling the plant.

Jewelry, watches & textures
This is where 10× Micro shines. I diffuse hard light, use white cards for fill and black cards for shape, and rotate either the light or the piece until reflections clean up. Focus peaking on engraved text is your best friend.

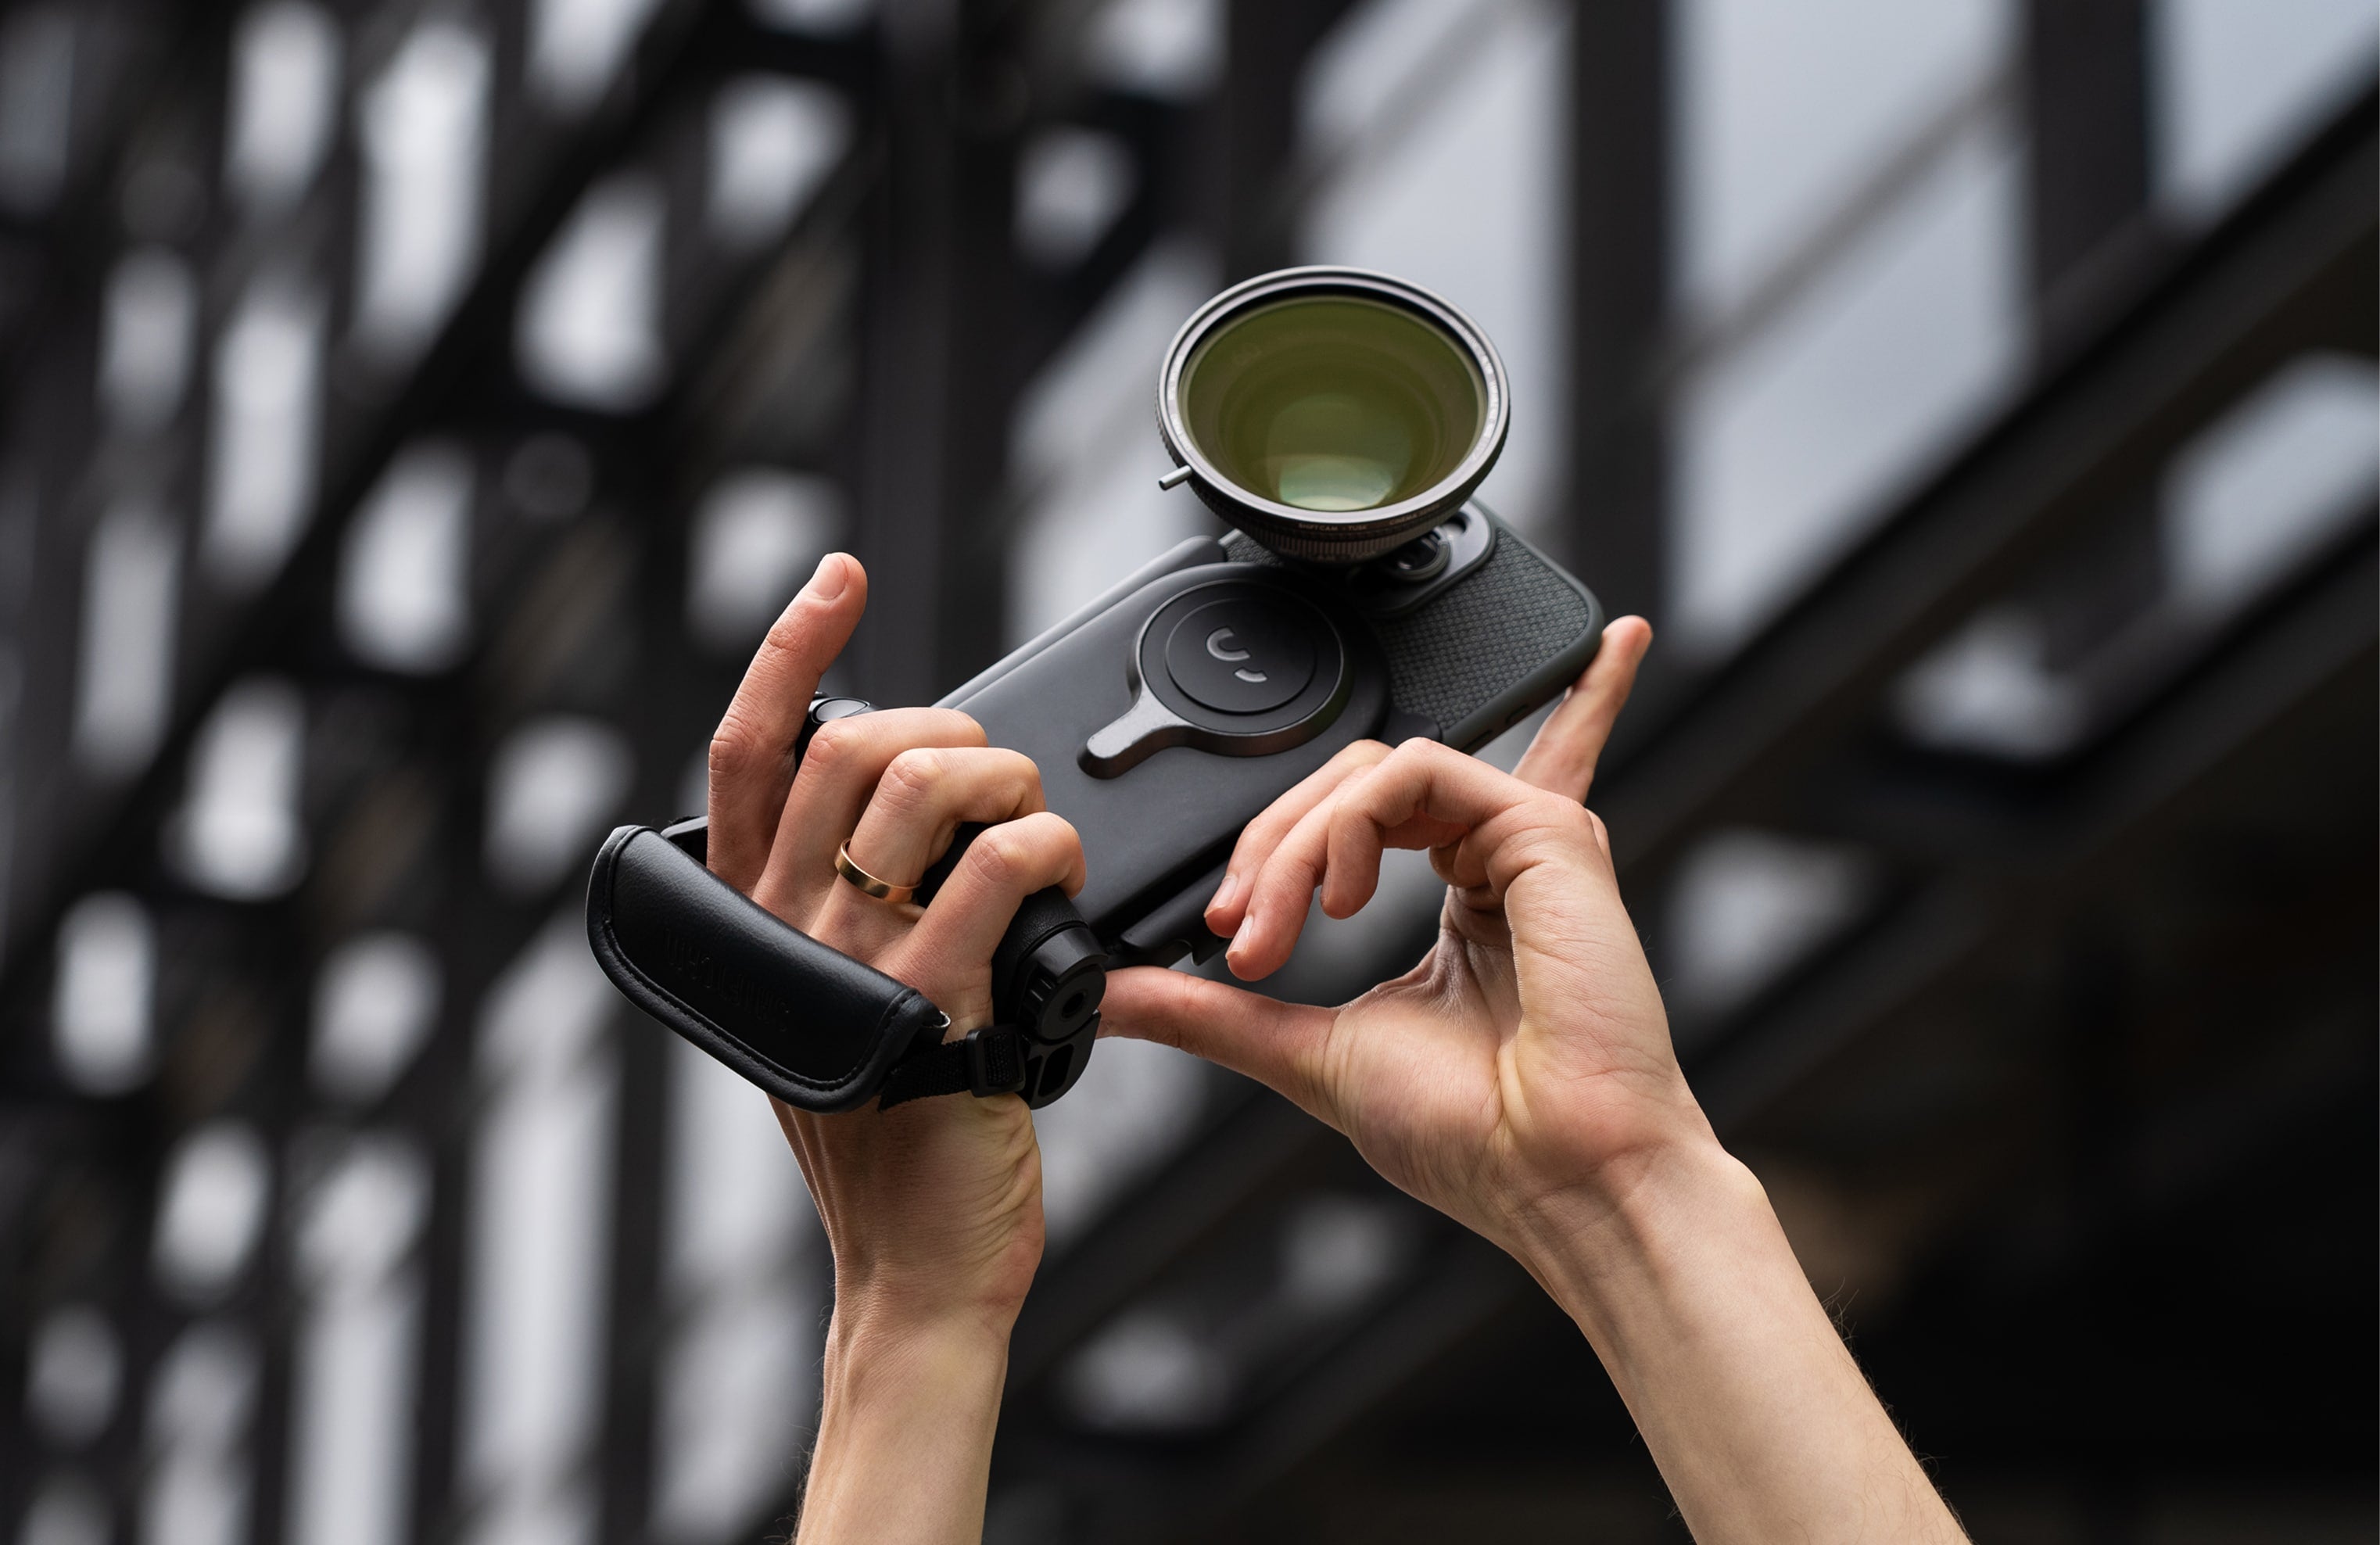
Gear I actually use (and why)
My two primaries are the LensUltra 75mm Long-Range Macro and the LensUltra 10× Micro—they cover movement-friendly distance and microscope-level detail. For stability I like the ProGrip handheld stabilizer; for lock-offs and stacking, a small stand or tripod adapter is worth its weight. SnapStudio Light handles key-light duty; SnapPocket Light is a great on-the-go fill. Precise alignment comes from a ShiftCam case or universal mount, and I always check phone compatibility before a shoot.

Share:
ShiftCam Gear’s New Identity: Clarity, Confidence, Community